The procedure for doing the mochi itself is somewhat specific to the Tiger SMJ-B18U machine. The water and rice amounts, or the timings might work in other machines. From experience, however, each machine tends to require a bit of finesse to get right.
For true mochi — made from pounding steamed rice, not using mochiko flour — you really do need a machine. I’ve tried making it in a stand mixer and the results were very underwhelming. And the mochiko flour doesn’t produce the same quality of mochi as pounding whole grains of rice.
It’s also worth noting that for mochi, you need to get specific mochigome “sweet” rice. I’m not really sure why it’s come to be known as sweet rice. It’s not sweet or sweetened at all. Rather, it’s more aggressively milled and an extra-glutinous variety, which you need for mochi. I’d recommend getting a product specifically labeled and marketed as “mochigome” rather than trusting that other “sweet rice” will work.
Filling-wise, while you could make the anko sweet red bean paste from scratch, I don’t know that it’s worth the incredible effort. Pre-made anko is easy to find at supermarkets with a Japanese focus.
Mochi is best eaten immediately, within 10 or 15 minutes of being prepared. It can be stored for two to three days in the refrigerator or frozen (and then reheated), but there is a noticeable loss of quality.
Ingredients
- Mochigome rice
- Water
- Flour (prefer corn, rice, or mochiko flour over wheat flour)
| Rice | Water |
|---|---|
| 750 g | 360 g |
| 900 g | 380 g |
| 1 kg | 400 g |
| 1.2 kg | 400 g |
| 1.35 kg | 420 g |
| 1.5 kg | 440 g |
Method
Rinse the rice under cold water until the water runs clear. Then transfer the rice to a suitably sized container, and cover it with enough water to have 3-4 cm (1-2") of water above the rice.
Soak the rice for at least eight hours, or overnight.
Drain the rice thoroughly before steaming and pounding.
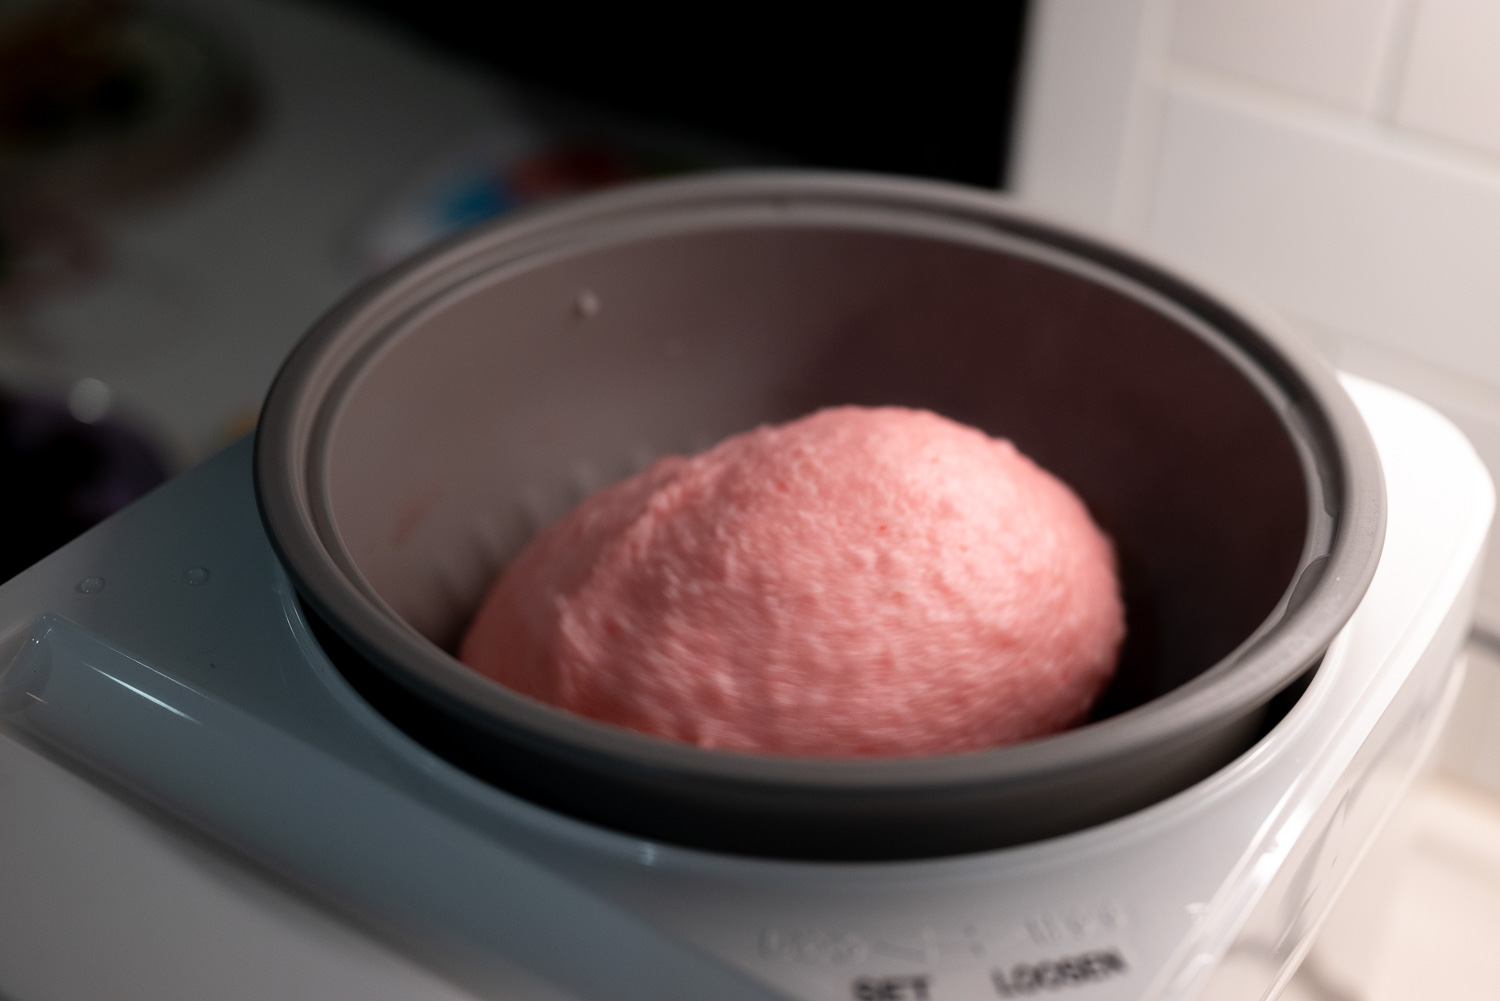
Add the water to the mochi machine, then the rice. Follow the machine instructions to steam the rice.
Prepare a rimmed tray with a generous dusting of flour and a small bowl of cold water. For daifuku mochi (see below), ensure that the filling is prepared and ready to go before pounding.
When the rice has finished steaming, start pounding the rice. If the mochi is struggling to come together, add 10-15 mL of additional water to lubricate. It may also be necessary to use a spoon to help the rice come together. Pound the rice until the mochi is completely smooth, about 10 to 15 minutes.
Transfer the pounded mochi to the tray, and, using the cold water to avoid sticky hands, pinch it into cakes of the desired size.
Serve the mochi immediately.
Variations
Kinako mochi
The amount of kinako mix required will depend on the batch size. It’s very easy to scale up or down maintaining the same ratio.
- 50 g kinako flour
- 25 g sugar
- Pinch salt
Mix together the flour, sugar, and salt in a small bowl or in a small tray until it is completely homogeneous.
Dip the mochi in water to moisten the surface, and then generously dredge the mochi in the kinako mix.
Daifuku mochi
Daifuku mochi refers to any mochi with a filling. Most often, though, this is anko sweet red bean paste. I’ve made anko from scratch — soaking, cooking, and blending the beans, then passing it through a tamis and sweetening — and I’m not sure it’s worth it. The high-quality pre-prepared anko is pretty good and relatively easy to find.
- Anko red bean paste
Portion the anko into bite-size portions, around the size of a small walnut, or around 15 g. Then roll the portions into balls.
Flatten a portion of fresh mochi into a thin disk. Press a portion of the anko into the disk. Then pinch the mochi closed over the filling, as if making a dumpling.